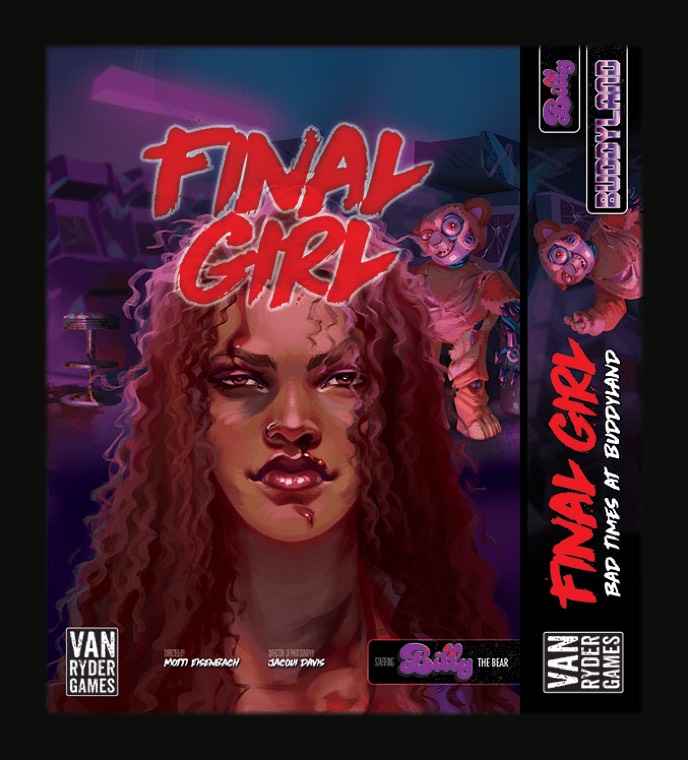
Box · S4·F1 · 103 games
Bad Times at Buddyland 56.3% win rate
🇪🇸 ES · 🇬🇧 EN · 🇫🇷 FR · 🇩🇪 DE · 🇮🇹 IT
📖 Billy guide (killer) · Buddyland guide (location)
Billy on Buddyland. Across 103 recorded games it is won 56.3% of the time, 9.2 points below the game average (65.5%).
What makes it different
The Buddies are minions with their own health, initiative and attack. You cannot attack Billy while a Buddy is on his space. He heals on the heart symbol while 1 of the 4 power sources stays active, and you can shut those down by spending time. The epic Finale brings out a second killer, Boris: you have to kill both. Nicknamed "the Camp Happy Trails of Series 4": a good testing ground.
| Level | Medium |
| The map | 4 arcade spaces as a hot spot |
How Billy works
- Base movement: does not move in its Killer Action; attacks whoever is in its space.
- Has Minions that can spawn during the game and act before him.
- Before the Finale, after Minions: +1 Health if a power source is active > Target Victim/Final Girl > Strike once.
Summarised from the Final Girl Wiki page (CC BY-SA).
The map: Buddyland
16 spaces and 2 exits (north and south). Search spaces: The Ball Pit, Dining Area and Prize Counter; other named spaces: Bathroom, Janitor's Closet, Jungle Gym, Kitchen and Party Room. The central 4 spaces form the Arcade.
- The Arcade spaces in the middle of the board feature in various card effects.
- Power Source tokens are placed around the board before the Setup card is drawn and feature in various card effects.
- Turning Power Sources off keeps Billy from healing.
Summarised from the Final Girl Wiki page (CC BY-SA).
The killer
Billy has a 59.8% win rate across all maps, over 204 games. Here, on Buddyland, the figure is 56.3%.
Setups
From the hardest to the easiest. At least 20 games.
| Setup | Win rate | Games |
|---|---|---|
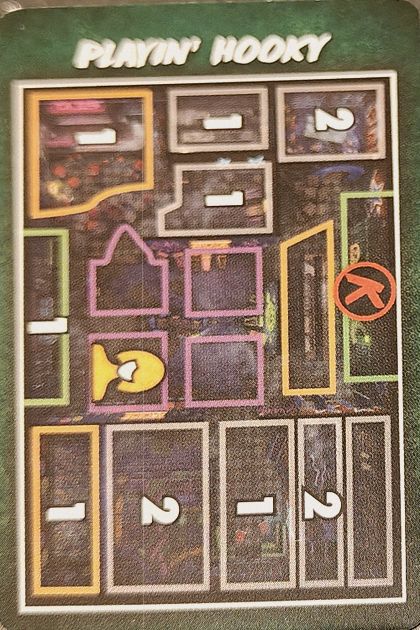
| Playin' Hooky | 59.3% | 54 |
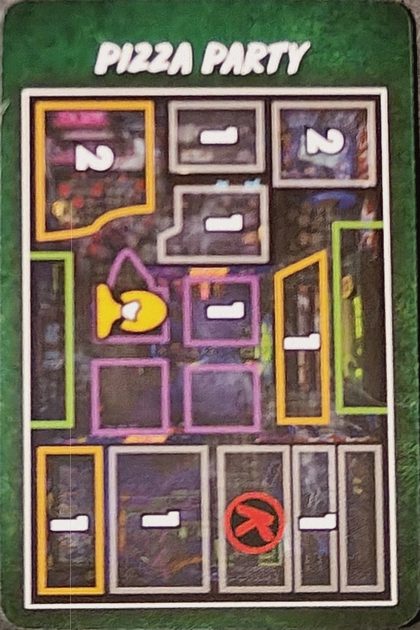
| Pizza Party | 64.7% | 51 |
| Birthday Bash | 67.9% | 56 |
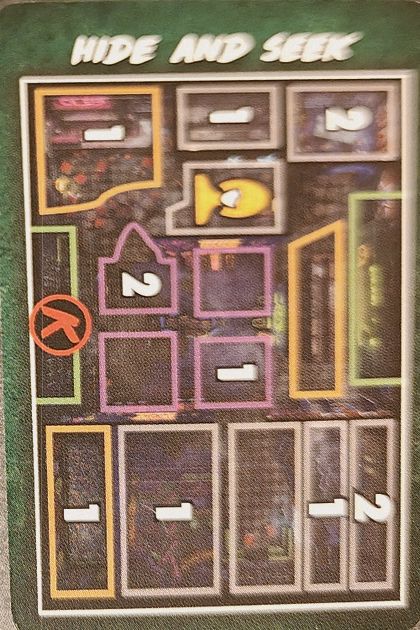
| Hide and Seek | 67.9% | 53 |
| Buddy Day | 71.7% | 53 |
Between Playin' Hooky and Buddy Day there are 12 points of difference. The starting setup matters more than it looks.
Dark Powers
| Dark Power | Win rate | Games |
|---|---|---|
| Merciless Minions | 48.3% | 29 |
| Endless Power | 54.4% | 46 |
| Deathlust | 59.5% | 37 |
| Introducing... Billy Jr! | 61.7% | 60 |
| Unrevealed | 79.2% | 24 |
Finale cards
| Finale card | Win rate | Games |
|---|---|---|
| Power Surge | 41.4% | 29 |
| Encore | 42.9% | 42 |
| Unrevealed | 58.1% | 62 |
| It's Showtime! | 80.0% | 30 |
| Sizzling Power | 81.2% | 32 |
Where to get it
Affiliate links: if you buy, I get a small commission at no extra cost to you. It doesn't change what the data above says.
How to start the game
The four openings, with which one to use depending on the setup, are in the opening strategies.
📖 Billy guide (killer)
Works with any location. ↑ top · Billy page → · Buddyland guide (location)
⌛ = Time · ✴ = damage · ❤️ = health · 🩸 = Bloodlust ·  = raise Horror · ⊘ = the card's crossed-out mask
Killer phase
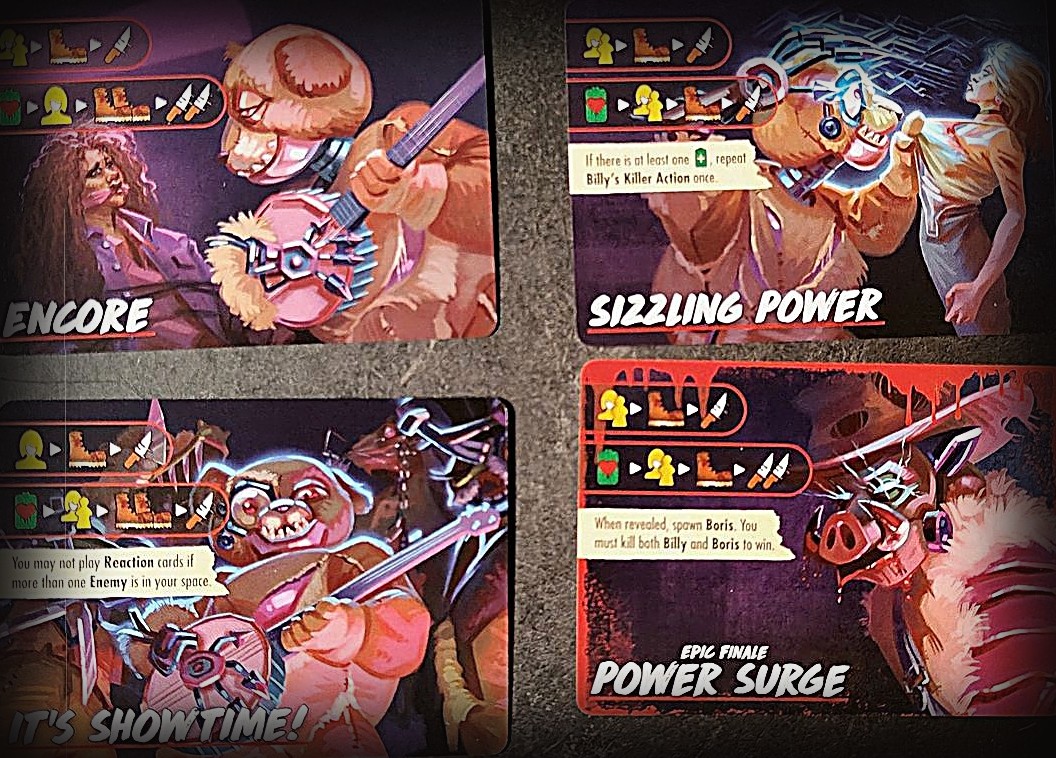
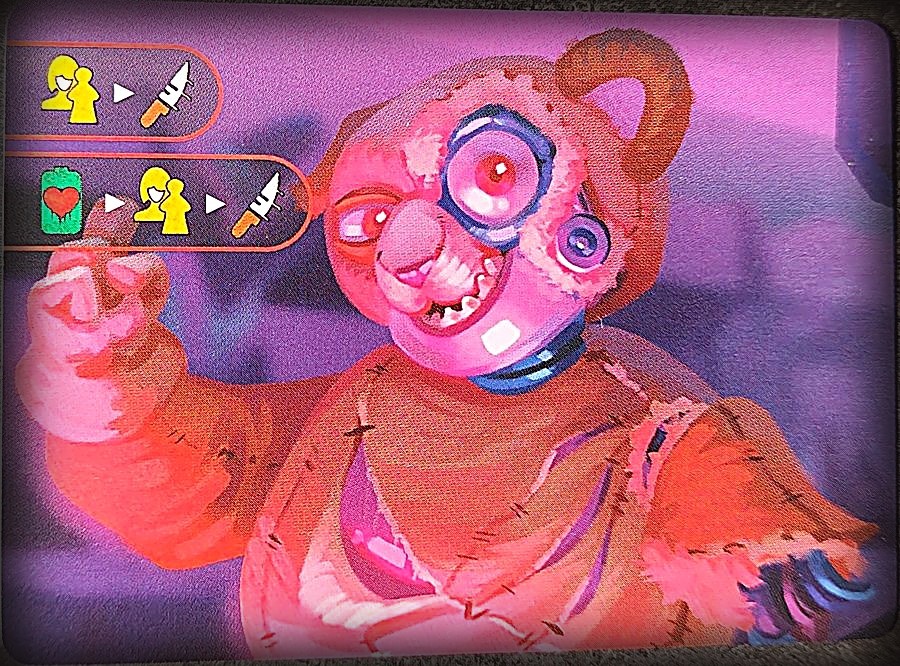
- Top row (Minion Action): the Buddies act first, one at a time, lowest to highest Initiative. Each Buddy targets you or the closest Victim, moves if the row has a boot, and attacks. On the basic Finale there is no boot: they don't move and only attack a target in their space.
- Bottom row (Killer Action): now Billy acts. First the battery-with-heart: if at least one Power Source is active, Billy heals 1 ❤️. Then he targets you or the closest Victim, moves if there's a boot, and attacks. The basic Finale has no boot either: he doesn't move.
- Draw and resolve a Terror card.
Watch out
- Billy can't be attacked while there's a Buddy in his space. Buddies protect him at all costs.
- While any Power Source is Active, the battery-with-heart icon heals Billy 1 ❤️. Turning them off is the key.
- A Buddy that spawns during the Killer phase doesn't activate until the next Killer phase.
Special setup
- Before revealing the Setup card, place 4 Power Source tokens Active side up (green battery with +) in 4 separate spaces, none adjacent to another. Set the 5th aside: it may come into play later.
- Shuffle the Bloodlust Track tokens A and B facedown, by type. Place 6 facedown on the Killer board, each in its matching space by color and icon. The 2 left over (one of each) aren't used or revealed.
- Shuffle the 5 Buddy cards facedown: that's the Buddy deck. Set aside the 2 Special Buddy cards: they may come in later and follow the same rules.
- Spawn a Buddy (see below).
Bloodlust Track
- When Bloodlust reaches a level with a token, reveal it and apply its effect.
Power Sources 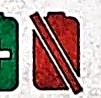
- Deactivating: flip the token to its Inactive side (red crossed-out battery). You may do it by spending ⌛ while in its space, even if just moving through.
- If an Inactive one is Activated, flip it back to green.
- With the battery-with-heart icon, Billy recovers 1 ❤️ if at least one Power Source is Active. If none are, ignore it.
The Buddies
- They are Minions and follow the normal Minion rules (pg. 32 of the Core Rulebook). Each card is an animatronic with its own health, attack and movement.
- Spawning a Buddy: reveal the top card of the deck, put its Health markers on it and place its token in a space adjacent to Billy, one without a Buddy if possible. If Billy is no longer in play, nothing spawns.
- Activating: each Buddy has an Initiative number (circle, top right). Minion Actions and Terror cards resolve from lowest to highest Initiative.
- Killing a Buddy: remove its token, take the Kill Reward on its card and remove the card from the game. If it dies outside the Action phase, take the reward at the start of the next Action phase.
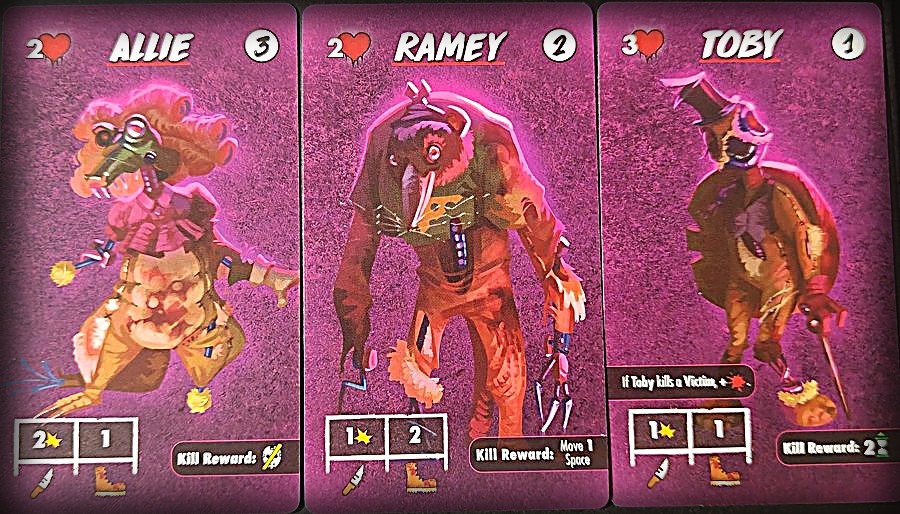
- Example: Toby has 3 ❤️, Initiative 1, attack 1, movement 1 and Kill Reward 2 ⌛.
The Buddies, one by one
- Toby · 3 ❤️ · Initiative 1 · attack 1 · movement 1. If Toby kills a Victim, +🩸. Kill Reward: 2 ⌛.
- Ramey · 2 ❤️ · Initiative 2 · attack 1 · movement 2. Kill Reward: move 1 space.
- Allie · 2 ❤️ · Initiative 3 · attack 2 · movement 1. Kill Reward: ⊘.
- Cam · 2 ❤️ · Initiative 4 · attack 1 · movement 1. Victims don't panic if Cam is the only Enemy in their space. Kill Reward: take a Guard card.
- Roxy · 1 ❤️ · Initiative 5 · attack 1 · movement 3. Kill Reward: take any top Item card.
- Billy Jr. (Special Buddy) · 2 ❤️ · Initiative 6 · attack 1 · movement 0. Always in the same space as Billy. Kill Reward: ✴ to Billy.
- Boris (Special Buddy) · 4 ❤️ · Initiative 7 · attack 3 · movement 2. Kill Reward: take ANY Action card.
Finales
- All have two rows: on top the Buddies act (Minion Action), one at a time by Initiative; below Billy acts (Killer Action): first the battery-with-heart, then he targets, moves and attacks.
- Base Finale (the pink bear): no row has a boot. The Buddies attack without moving; then Billy, battery-with-heart, and attacks without moving.
- Encore: on the bottom row, Billy moves twice and attacks twice.
- Sizzling Power: if at least one Power Source is Active, repeat his Killer Action once.
- It's Showtime!: you can't play Reaction cards if more than one Enemy is in your space.
- Power Surge (Epic Finale): when revealed, spawn Boris. You must kill both Billy and Boris to win.
Dark Powers
- Introducing... Billy Jr.!: spawn Billy Jr. in Billy's space.
- Deathlust: +1 to Billy's Movement and Attack.
- Endless Power: when revealing Billy's Final Health token, reveal one more per Active Power Source and apply the one that heals the most.
- Merciless Minions (Epic Dark Power): for the Minion Action on the Finale, add a move before the attack.
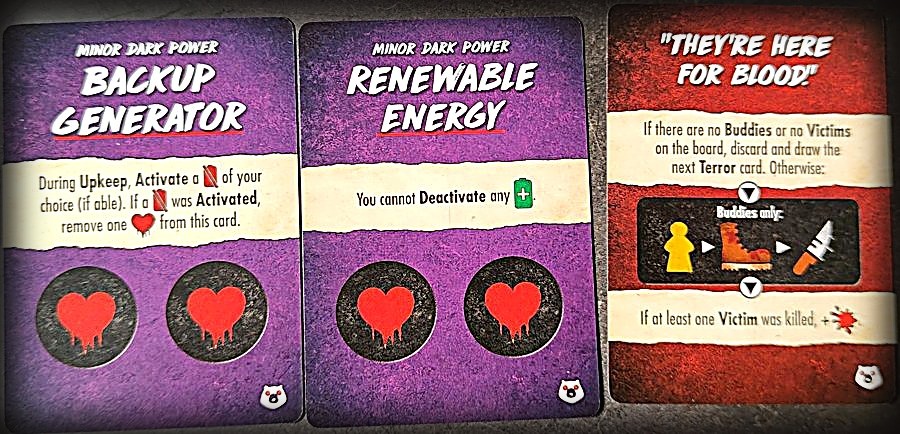
- Backup Generator (Minor): during Upkeep, Activate an Inactive Power Source of your choice (if able). If one was Activated, remove a ❤️ from this card.
- Renewable Energy (Minor): you can't Deactivate any Power Source.
Billy's Terror cards
- Animatronical: spawn a Buddy and draw the next Terror card.
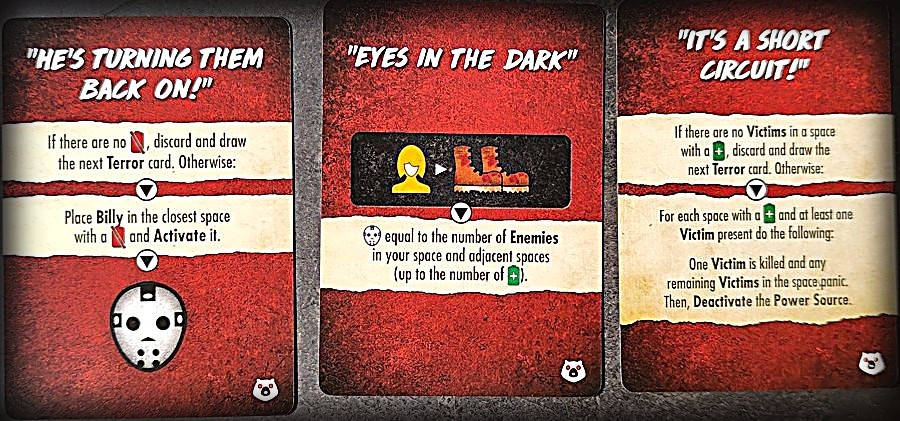
- "He's Turning Them Back On!": if there are no Inactive Power Sources, discard and draw another. Otherwise place Billy in the closest space with an Inactive one, Activate it and .
- "Eyes in the Dark": the Killer targets you (the Final Girl) and moves twice; then once per Enemy in your space and adjacent spaces, up to the number of Active Power Sources.
- "It's a Short Circuit!": if no space with an Active Power Source has Victims, discard and draw another. Otherwise, in each such space with a Victim, one Victim is killed, the rest panic and that Power Source is Deactivated.
- "They're Here for Blood!": if there are no Buddies or no Victims, discard and draw another. Otherwise, Buddies only: target the closest Victim, move and attack. If at least one Victim was killed, +🩸.
📖 Buddyland guide (location)
Works with any killer. ↑ top · Billy guide (killer)
Watch out
- Buddyland has no special setup: the Power Sources belong to Billy.
The location
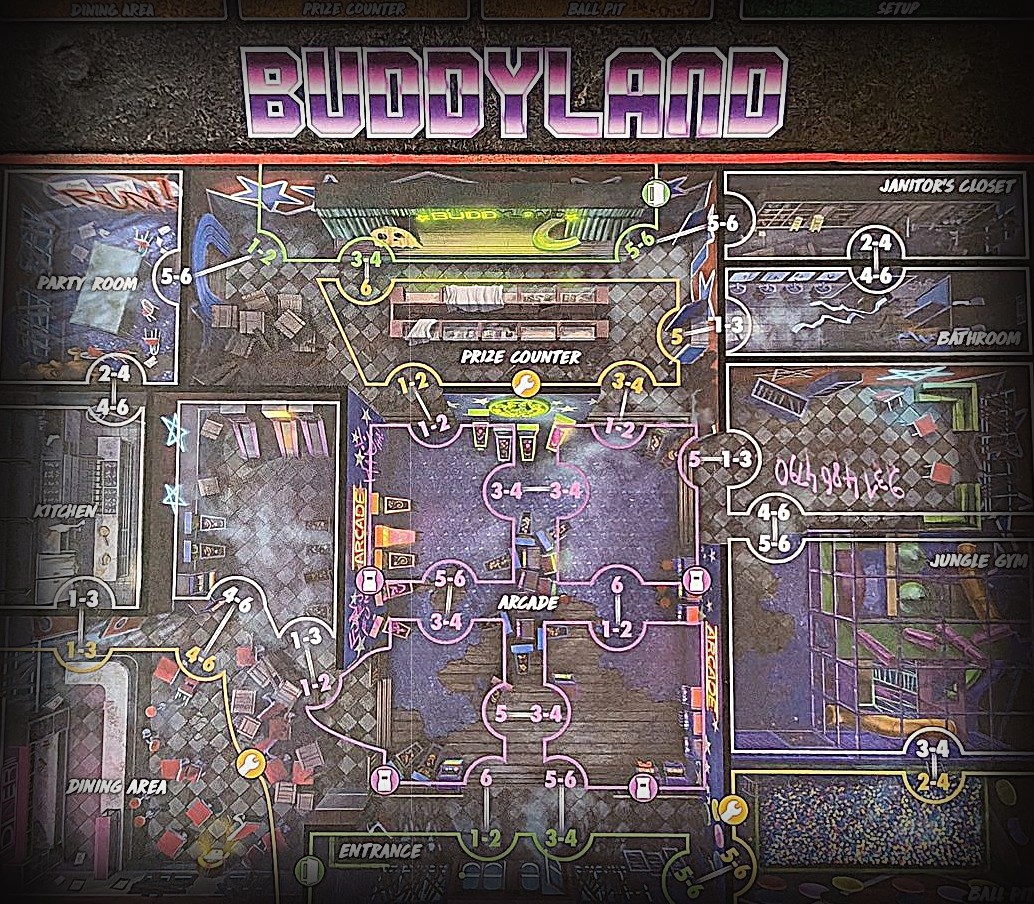
- The 4 middle spaces with the arcade-machine icon are Arcade spaces. Several cards refer to them.
- Named spaces: Party Room, Kitchen, Dining Area, Entrance, Prize Counter, Arcade, Janitor's Closet, Bathroom, Jungle Gym and Ball Pit. Dining Area, Prize Counter and Ball Pit have Item decks on the side.
Buddyland Terror cards
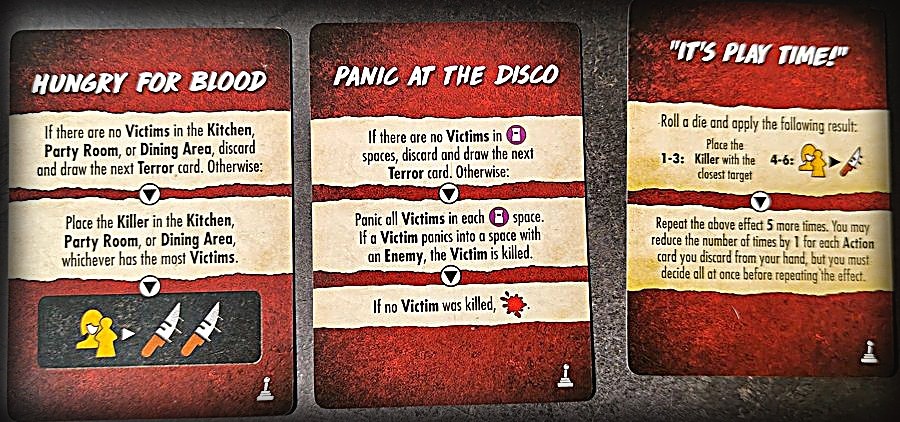
- Hungry for Blood: if there are no Victims in the Kitchen, Party Room or Dining Area, discard and draw another. Otherwise place the Killer in whichever has the most Victims; it targets a Victim or you and attacks twice.
- Panic at the Disco: if there are no Victims in Arcade spaces, discard and draw another. Otherwise panic all Victims in each Arcade space; one that panics into a space with an Enemy is killed. If no Victim was killed, +🩸.
- "How'd They Sneak In?": roll 3 dice and place a Victim per die: 1-2 Jungle Gym, 3-4 Dining Area, 5-6 Party Room. Then an Event.
- "They Want Her!": panic all Victims in your space, move all Enemies one space towards you, per Enemy in your space, then an Event.
- "It's Play Time!": roll a die. 1-3: place the Killer with the closest target. 4-6: it targets a Victim or you and attacks. Repeat 5 more times; you may cut one repeat per Action card discarded from your hand, all decided at once beforehand.
Setups
K = Killer start · yellow figure = Final Girl · numbers = Victims in each space.
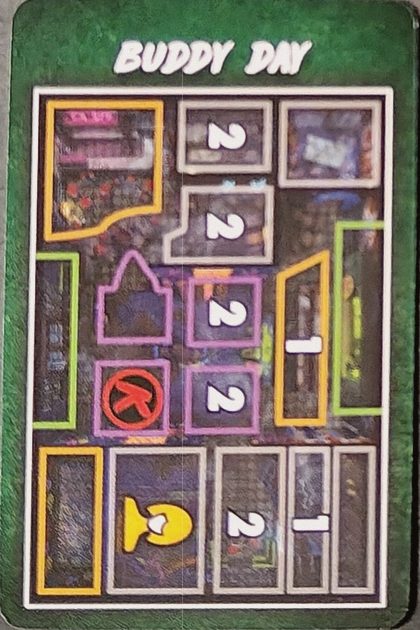
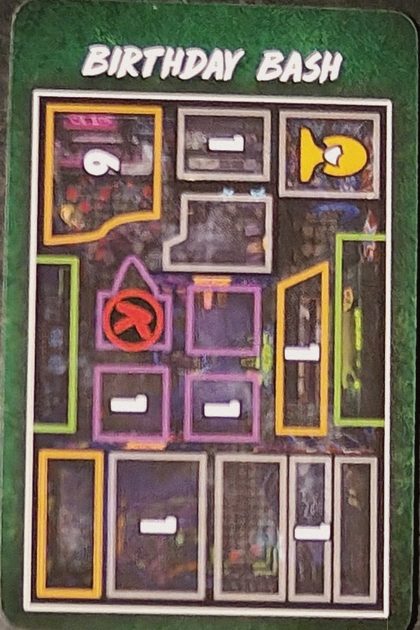
Items
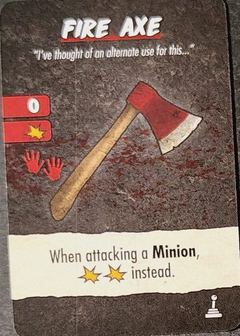
Weapon · range 0 · 1 ✴ · 2 hands. Against a Minion, deal ✴✴ instead.
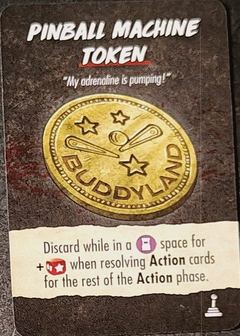
Discard while in an Arcade space: +1 🎲 when resolving Action cards for the rest of the Action phase.
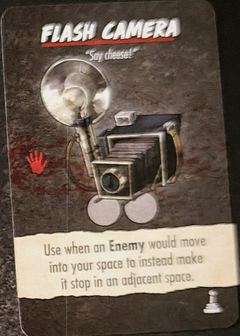
1 hand · 2 uses. When an Enemy would move into your space, make it stop in an adjacent space instead.
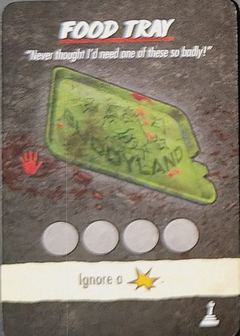
1 hand · 4 uses. Ignore 1 ✴.
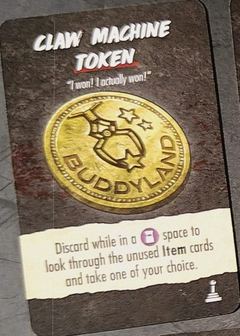
Discard while in an Arcade space to look through the unused Item cards and take one of your choice.
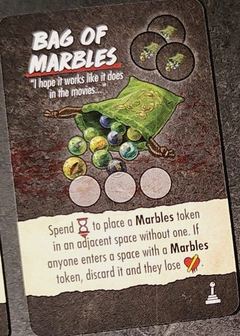
3 Marbles tokens. Spend ⌛ to place one in an adjacent space without one. Anyone entering a space with Marbles discards it and loses 💔.
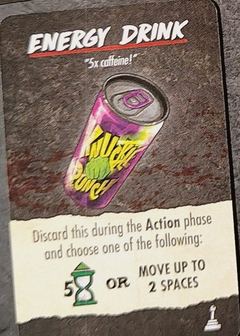
Discard during the Action phase and choose: 5 ⌛ or move up to 2 spaces.
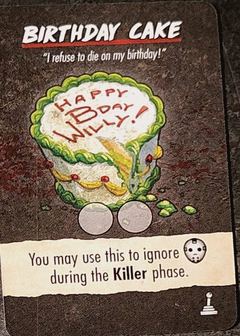
2 uses. Use it to ignore a during the Killer phase.
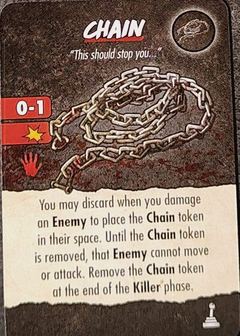
Weapon · range 0-1 · 1 ✴ · 1 hand. When you damage an Enemy you may discard it to place the Chain token in their space: until removed, that Enemy can't move or attack. Remove it at the end of the Killer phase.
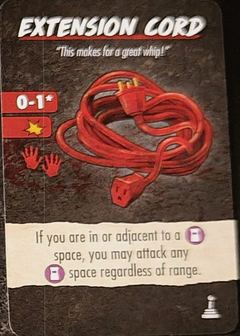
Weapon · range 0-1* · 1 ✴ · 2 hands. If you are in or adjacent to an Arcade space, you may attack any Arcade space regardless of range.
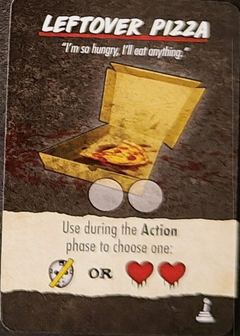
2 uses. During the Action phase, choose: ⊘ or ❤️❤️.
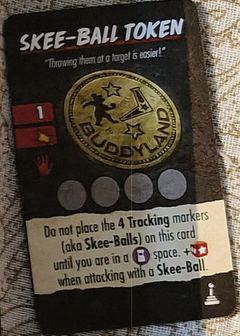
Weapon · range 1 · 1 ✴ · 1 hand · 4 uses. Don't place the 4 Tracking markers (the Skee-Balls) on the card until you're in an Arcade space. +1 🎲 when attacking with a Skee-Ball.
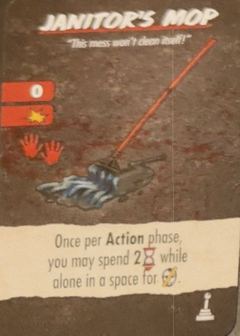
Weapon · range 0 · 1 ✴ · 2 hands. Once per Action phase, while alone in a space, you may spend 2 ⌛ for ⊘.
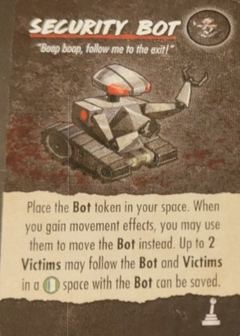
Place the Bot token in your space. When you gain movement, you may use it to move the Bot instead. Up to 2 Victims may follow the Bot, and Victims at an exit with the Bot can be saved.
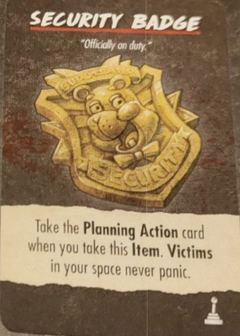
When you take it, also take the Planning Action card. Victims in your space never panic.
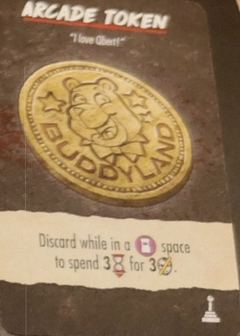
Discard while in an Arcade space to spend 3 ⌛ for 3 ⊘.
Buddyland events
- Tragic Collapse
- Roll a die and place the Broken token: 1-2 Jungle Gym, 3-4 Kitchen, 5-6 Bathroom. Everyone there now or entering later takes ✴.
- Playtime Shenanigans
- Place 2 new Victims in the Ball Pit and 2 in the Jungle Gym. Discard.
- Discard all faceup Item cards from the Item decks. Discard.
- Party Time
- Move all Victims one space closer to the Party Room. Discard.
- Buddy Up
- When saving Victims, you must save 2 or more at a time. You may ignore this for an entire Action phase by discarding an Improvise or Distraction Action card.
- Broken Machine
- If there are Victims in Arcade spaces, Enemies move towards the closest Victim in an Arcade space when targeting a Victim or the Final Girl. Discard when a Victim in an Arcade space is killed.
- Birthday Girl
- The Birthday Girl starts in the Party Room. If she's alone during the Panic phase, she panics. Saved: 4 ⌛. Killed: 🩸.
- Nick the Janitor
- Nick starts in the Janitor's Closet and can follow you even into the Killer's space. When he enters a space with an Enemy, he deals 2 ✴ to it; then he leaves the board and returns to the Closet next Upkeep. Killed: 2 🩸.
- Sing-A-Long
- Each Upkeep: . Discard when the Horror level reaches the red area.
- Pizza Delivery
- The Victim closest to the Entrance is the Pizza Guy. While he's in your space, you may roll 2 extra dice when resolving a Search Action card. If he's killed, all Victims in his space and adjacent spaces panic.
Our own wording, based on the rulebook, the cards and the wiki. Spot a mistake? Let us know.
