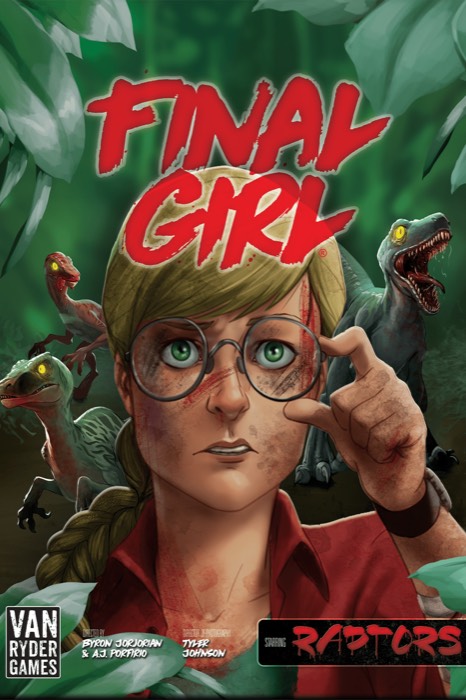
Box · S4·F5 · 61 games
The Raptor Games 57.4% win rate
🇪🇸 ES · 🇬🇧 EN · 🇫🇷 FR · 🇩🇪 DE · 🇮🇹 IT
📖 Raptors guide (killer) · Isla Lagarto guide (location)
Raptors on Isla Lagarto. Across 61 recorded games it is won 57.4% of the time, 8.1 points below the game average (65.5%).
Small sample
Only 61 recorded games. Split across Dark Powers, Finales and Setups, each breakdown ends up with very few: take them as a hint, not a fact.
What makes it different
The pack's health is the number of raptors, with no cap. Loose raptors stop on victims instead of attacking them. The T-Rex cannot be killed, moves 2 per round and eats in a fixed order: victims, raptors, Final Girl, killer. Three electric fences block movement and line of sight; a die roll in Upkeep decides which are active. Rescuing costs 1 extra time. Preliminary data: the box is very recent and there is little experience with it.
| Level | Advanced |
| The map | Electric fences, volcanic eruption |
At our table
As a film it's one of the big ones: there's a volcano, a T-Rex and electric fences. The map is incredible and the whole package is grand.
The Raptors are the small letdown. They're not bad, but they end up as health containers that do something now and then, and they don't live up to the charisma they promise.
Same story as Ratchet Lady: great map, so-so killer. If you like that box, this one is a good alternative.
The killer
Raptors has a 65.7% win rate across all maps, over 105 games. Here, on Isla Lagarto, the figure is 57.4%.
Setups
From the hardest to the easiest. At least 20 games.
| Setup | Win rate | Games |
|---|---|---|
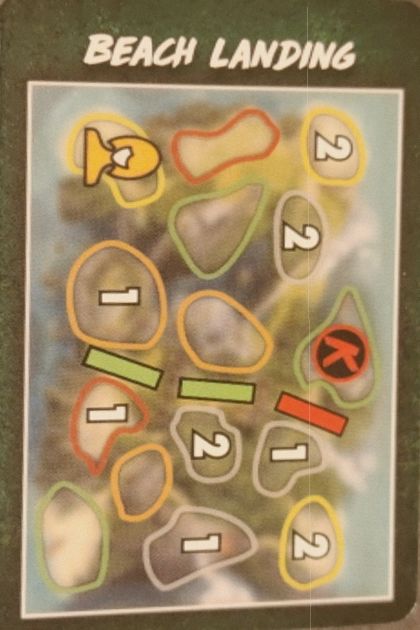
| Beach Landing | 54.5% | 22 |
| Facility Construction | 65.6% | 32 |
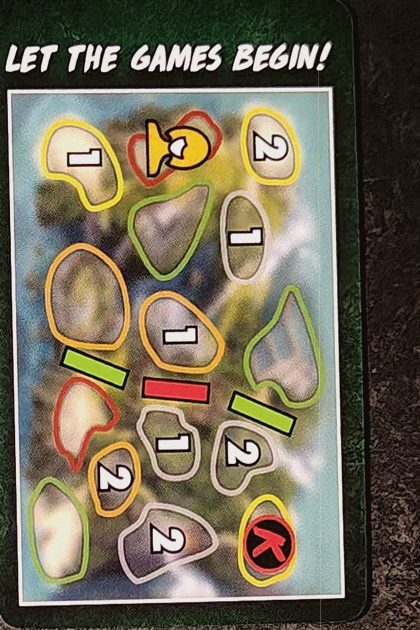
| Let The Games Begin! | 66.7% | 24 |
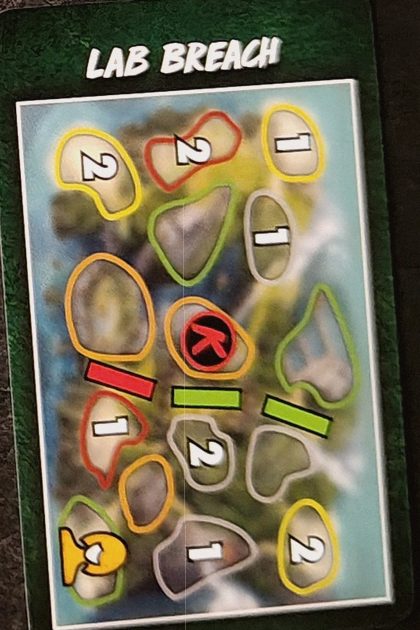
| Lab Breach | 71.4% | 21 |
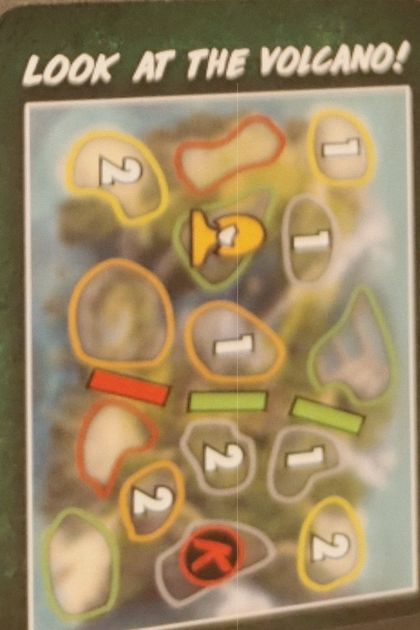
| Look at the Volcano! | 75.0% | 24 |
Between Beach Landing and Look at the Volcano! there are 20 points of difference. The starting setup matters more than it looks.
Dark Powers
| Dark Power | Win rate | Games |
|---|---|---|
| Pack Conditioning | 55.6% | 27 |
| Blood Thirsty | 64.0% | 25 |
| They're Everywhere! | 78.3% | 23 |
Where to get it
Affiliate links: if you buy, I get a small commission at no extra cost to you. It doesn't change what the data above says.
How to start the game
The four openings, with which one to use depending on the setup, are in the opening strategies.
📖 Raptors guide (killer)
Works with any location. ↑ top · Raptors page → · Isla Lagarto guide (location)
⌛ = Time · ✴ = damage ·  = raise Horror · 🩸 = Bloodlust · 💔 = lose health · ❤️ = recover health · 🔧 = space with the orange wrench icon
Killer phase
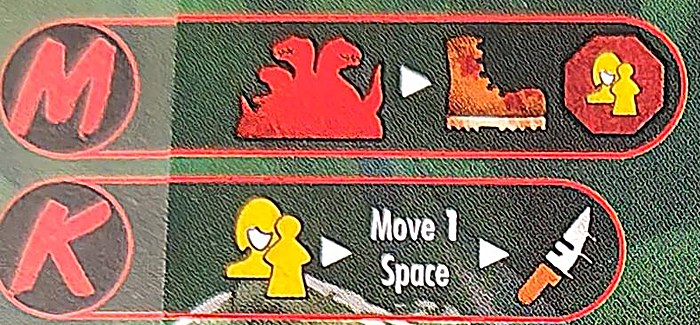
- Individual Raptors (Minions), one by one: head for the Pack ▸ move ▸ stop on entering a space with you or a Victim (the stop sign); if they start there, they don't move. If they reach the Pack, they join it. A Raptor spawned during this phase doesn't act until the next one.
- The Pack (the Killer): targets you or the closest Victim ▸ on the base Finale it moves only 1 space and attacks once. With the other Finales it moves its Movement Value and attacks once per knife on the card (1 on Claws Like Knives, 2 on the rest).
- In their own box, with Isla Lagarto, if the T-Rex has broken out: then the T-Rex acts (moves 2, stops on reaching anyone and kills one in its space).
- Draw and resolve a Terror card.
Watch out
- The Pack counts as the Killer for all purposes; individual Raptors are Minions. A card that says "Raptor(s)" doesn't include the Pack; one that says "Pack" doesn't include individual Raptors.
- You win when the Pack is eliminated, even if individual Raptors are still on the board.
- The Pack has no health limit: every Raptor that joins adds 1 ❤️, with no cap. Kill loose Raptors before they arrive or the final fight drags on. Its attack doesn't change however big it gets.
- Use weak attacks on loose Raptors: each one that never reaches Pack is 1 ❤️ less in the final fight. Save your good weapons for Pack.
- A Raptor that spawns during the Killer phase doesn't activate until the next Killer phase.
- Individual Raptors stop when they enter (or start moving in) a space with you or a Victim. Location Terror cards don't show that icon, but the rule still applies.
Special setup
- Shuffle the Spawn cards facedown next to the Raptors card, and put the Raptor meeples on that card.
- The Pack starts on the Killer space (K) of the Setup card, instead of the core box Killer meeple.
The Pack
- A large group of Raptors that counts as the Killer for all purposes.
- Its health is the number of Raptors in it: it starts at 5 (1 Final Health and 4 Health) with no upper limit.
- The Attack Value on the Killer board is what the Pack deals per attack, whatever its size.
Individual Raptors 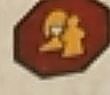
- The Raptor meeples. They are Minions for all purposes.
- They have 1 health and use the Movement Value on the Killer board.
- They don't attack often, but when they do, each one deals 1 ✴.
Joining the Pack 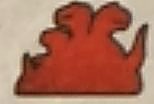
- On the Pack icon, Raptors head for the Pack by the shortest path. If several are equal, they take the one that gets them closest to the Pack before stopping.
- A Raptor in the Pack's space joins it immediately: remove the meeple and add 1 health to the Pack for each one.
- Meeples removed from the board go back to the Raptors card for future spawns.
Spawning Raptors 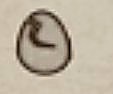
- On the spawn icon, draw a Spawn card and spawn that many Raptors. The space comes from a die roll on the Raptors card's table; if several are legal, you choose.
- They never spawn in spaces that are no longer accessible.
- If there aren't enough meeples, the Raptor closest to the Pack joins it and you use its meeple; repeat until the card is resolved.
- If the Spawn deck runs out, shuffle the discards and draw.
- The final effect on the 🩸 track also spawns a Raptor, like a Spawn card of 1.
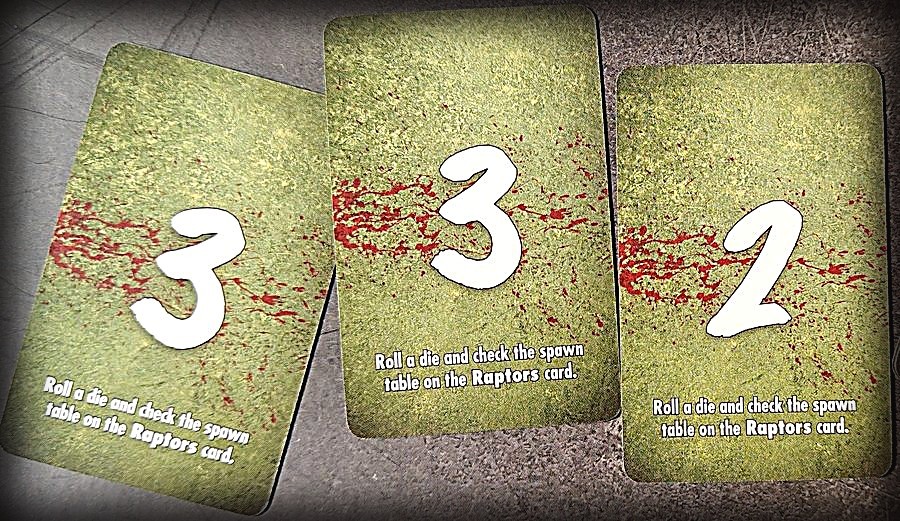
The spawn table (Raptors card)
- Roll a die to see where they spawn: 1 your space · 2 the green (exit) space closest to the Pack · 3 the 🔧 space closest to the Pack · 4 the green space furthest from the Pack · 5 the 🔧 space furthest from the Pack · 6 the space furthest from you.
- Each loose Raptor: 1 ❤️, a 1 ✴ attack and movement equal to the Pack's. They don't move if they start with you or a Victim, and stop when entering a space with you or a Victim.
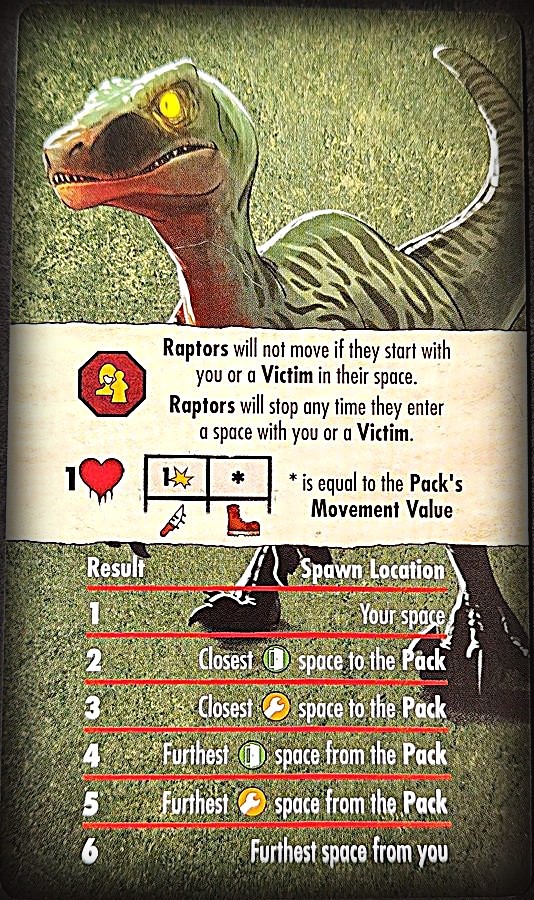
Reading their cards
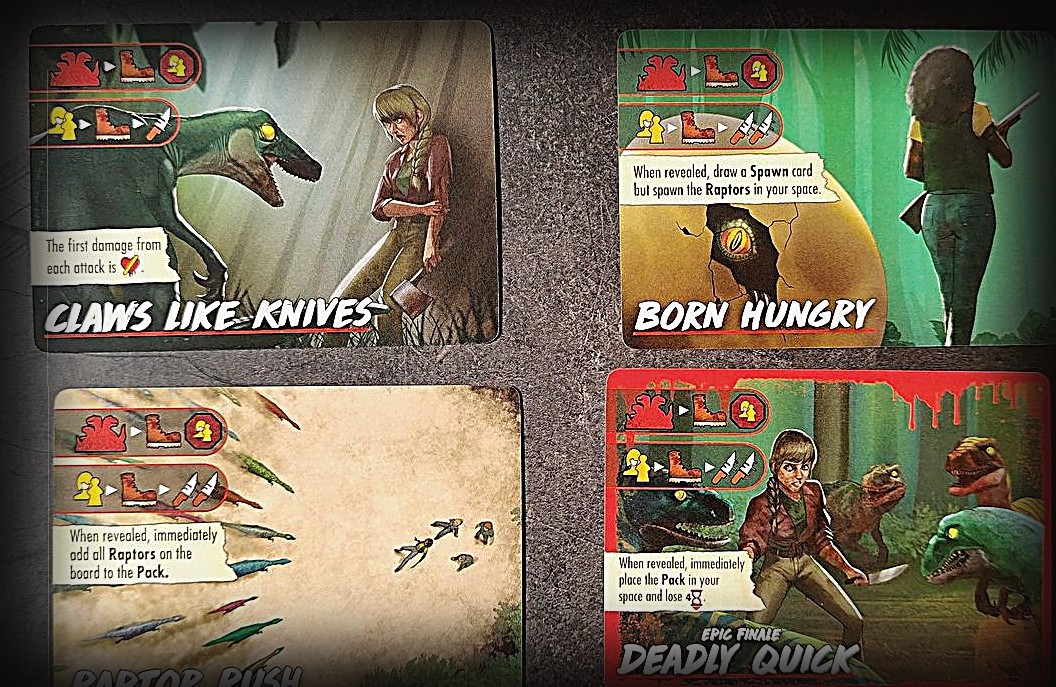
- The red silhouette of several Raptors = the Pack icon: loose Raptors head towards it to join. The yellow figures = target you or the closest Victim. The boot = move. The knife = attack (once per knife). The stop sign with figures = stops on reaching you or a Victim. The cracked egg = Raptors spawn.
- "Pack only" is just the Pack; "Raptors only", just the loose ones.
Finales
- All have two rows: on top, loose Raptors move towards the Pack and stop if they reach you or a Victim; below, the Pack targets you or the closest Victim, moves and attacks.
- Claws Like Knives: the Pack attacks once. The first damage from each attack is 💔: you lose health directly.
- Born Hungry: the Pack attacks twice. When revealed, draw a Spawn card but spawn the Raptors in your space.
- Raptor Rush: the Pack attacks 3 times. When revealed, all Raptors on the board join the Pack.
- Deadly Quick (Epic Finale): the Pack attacks twice. When revealed, place the Pack in your space and lose 4 ⌛.
Dark Powers
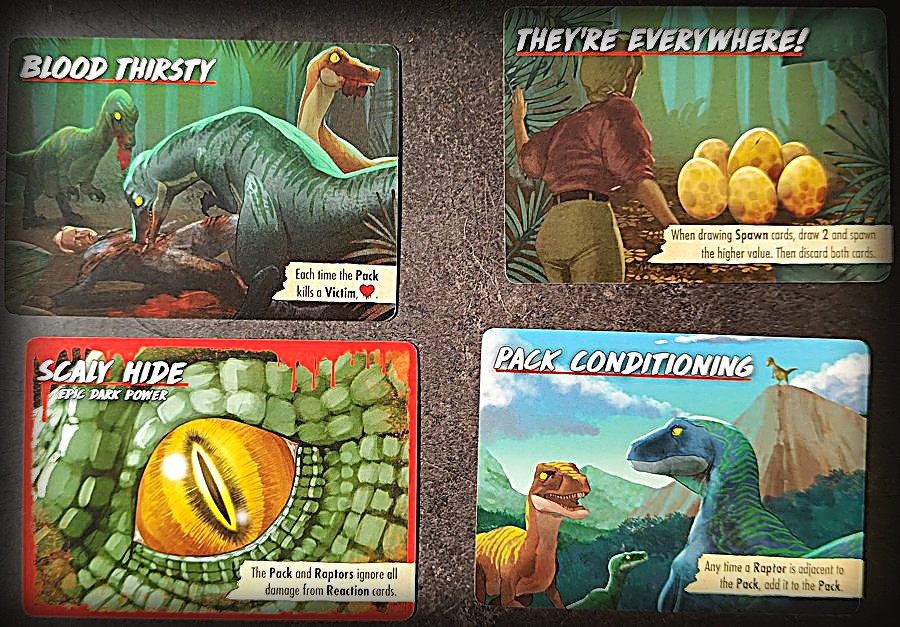
- Pack Conditioning: any time a Raptor is adjacent to the Pack, add it to the Pack.
- They're Everywhere!: when drawing Spawn cards, draw 2 and spawn the higher value. Then discard both.
- Blood Thirsty: each time the Pack kills a Victim, it gains ❤️.
- Scaly Hide (Epic Dark Power): the Pack and Raptors ignore all damage from Reaction cards.
Terror cards that need explaining
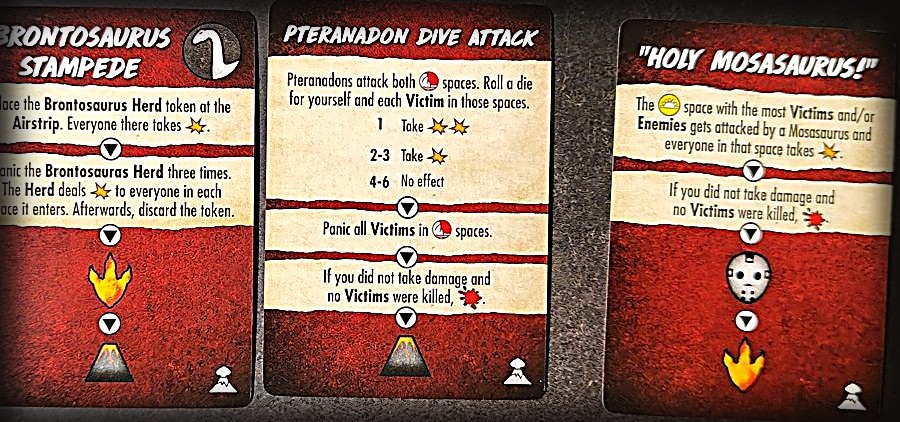
- Protect the Brood (2 copies): Raptors spawn (egg) and you place the Pack where they spawned. If the Spawn card was a 0, roll a die and place the Pack using the table on the Raptors card. Then the Pack targets you or a Victim, moves and attacks.
- Share the Feast: the Pack targets, moves and attacks; loose Raptors move towards the Pack (stopping at you or a Victim). If any joined the Pack, the Pack attacks again.
- No Escape: if there are no Raptors on the board, discard it and draw the next Terror card. Otherwise, the nearest Raptor to each green (exit) space is placed there, and those on exits attack. If no one was attacked, Horror goes up 2 ().
- Predatory Instincts (Minor Dark Power): the Pack deals 1 extra ✴ per knife.
- Survival Instincts (Minor Dark Power): each Upkeep the Pack gains ❤️.
📖 Isla Lagarto guide (location)
Works with any killer. ↑ top · Raptors guide (killer)
Watch out
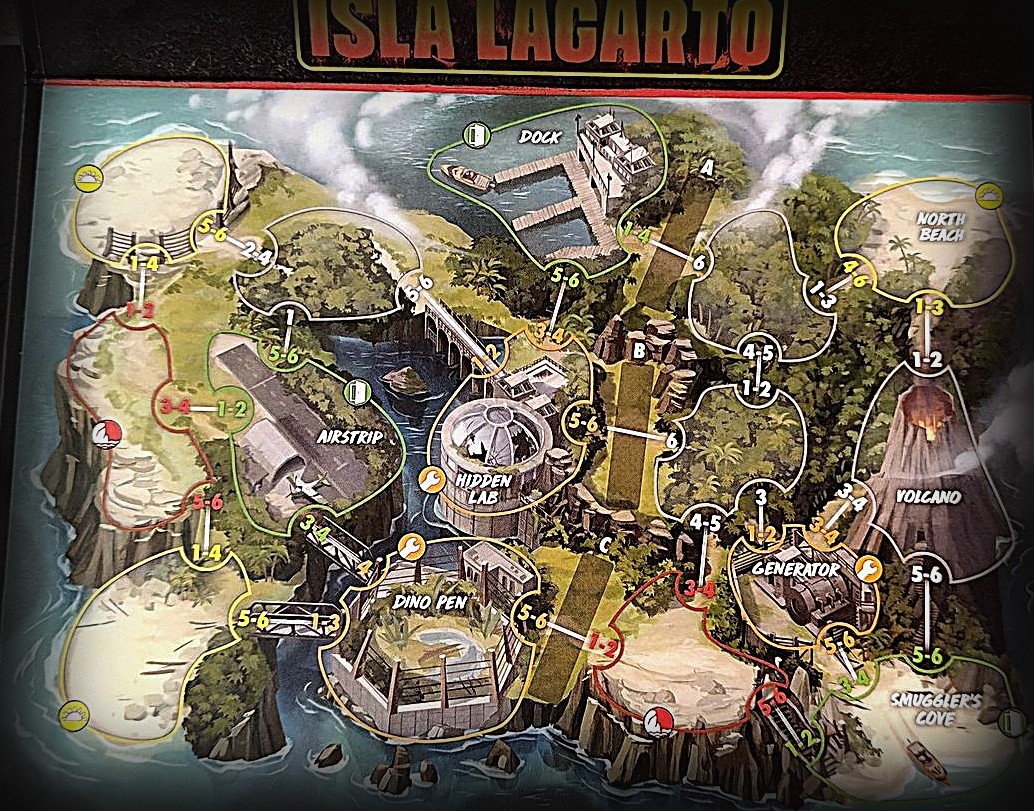
- Lava spaces are no longer accessible to anyone, Raptors and T-Rex included.
- The Game Makers Event can't be one of your starting Events: if you draw it during setup, discard it and draw another.
Special setup
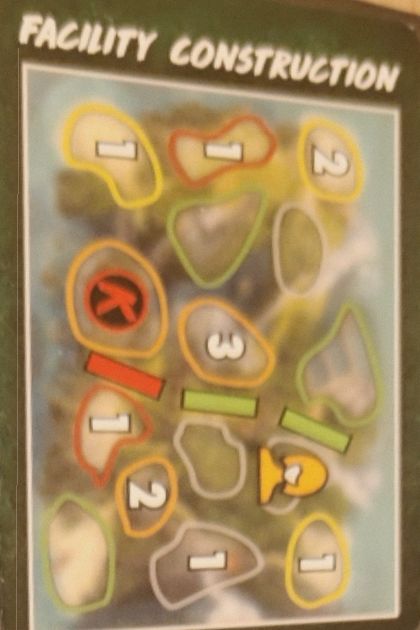
- Place Electric Fence markers in the green sections shown on the Setup card. Nothing goes in the red ones.
- Shuffle the 3 Lava cards facedown and put the Lava tokens next to them.
- Place the T-Rex card near the play area and its meeple on the card's start space.
With this Setup card you place Electric Fences on A and C; B stays empty.
Electric Fences
- There are 3 fences: A, B and C. While a marker is there, the path is blocked and the spaces on each side are not adjacent.
- Panic: anyone panicking towards a blocked fence stays where they are.
- Farthest / closest: only count unblocked paths. If all 3 markers are out and the only space or target is on the other side, count as if there were no fences.
- Enemy targeting: with no unblocked path to its target, the Enemy doesn't move for that action, If it has to attack, it only attacks whoever is in its own space (you or a Victim); if nobody is there, nothing happens.
- Placing someone: fences don't affect effects that place someone.
- Each Upkeep, roll the yellow fence die (faces A, B, C): if the fence with that letter has a marker, remove it; if not, place one. It works like a switch: each time its letter comes up, that fence flips between blocked and open.
The T-Rex 
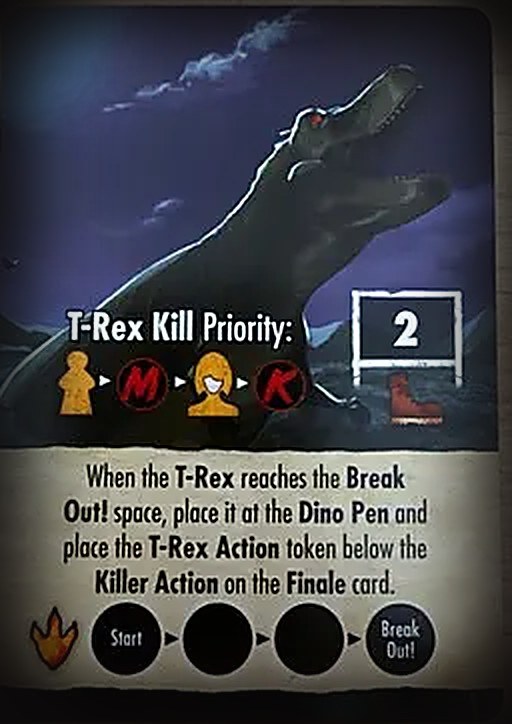
- At first the T-Rex isn't on the board: its meeple sits on the Start space of its card. Each time a card shows its icon (the orange footprint), move the meeple one space along the card's track: Start ▸ ○ ▸ ○ ▸ Break Out!
- On "Break out!", put its meeple in the Dino Pen on the board and its action token below the Killer Action on the Finale card. From then on, ignore its icon.
- It is not a Killer or a Minion: it can't be attacked, damaged or killed. Its action resolves after the Finale's Minion and Killer Actions.
- Victims won't follow you into its space (unless an effect lets them follow you into the Killer's). In the Panic phase, everyone in its space panics, whether or not anyone died that turn.
- Movement 2, with the ANY icon: it stops as soon as it reaches a space with anyone (you, Victims, Enemies...), and won't move if someone is already in its space.
- It doesn't deal damage: it kills one target in its space. Priority: Victim, Minion, you, Killer. If it attacks you or the Killer, the target dies instantly, without revealing Final Health.
- Against an Enemy made of several units (the Raptor Pack, a zombie horde...) it kills one unit, i.e. 1 damage.
The volcano
- The first time you resolve the volcano icon, it erupts: everyone at the Volcano takes 💔, anyone left in the space panics, and you place the Volcano Lava token there: it's no longer accessible.
- After that, the lava spreads to an adjacent space: draw a Lava card to see which one and follow it.
- Once all 4 Lava tokens are on the board, ignore the volcano icon.
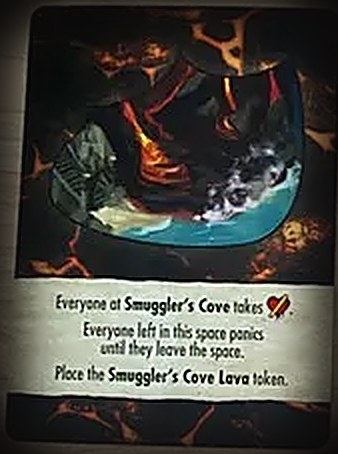
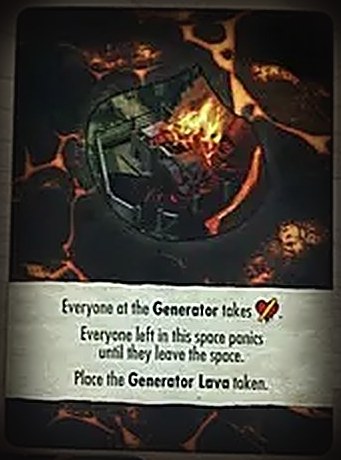
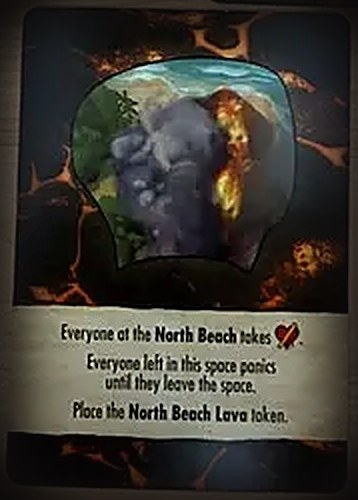
- The 3 Lava cards: North Beach, Generator and Smuggler's Cove. Everyone there takes 💔, anyone left panics until they leave the space, and you place its Lava token.
Special spaces
- The 3 corner spaces with the beach icon are Beach spaces.
- The 2 edge spaces with the cliff icon are Cliff spaces.
- Several location cards refer to them.
Setups
K = Killer start · yellow figure = Final Girl · numbers = Victims in each space.
Items
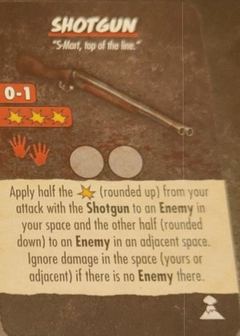
Weapon · range 0-1 · 3 ✴ · 2 hands · 2 uses. Split the damage: half (rounded up) to an Enemy in your space and half (rounded down) to one in an adjacent space. Damage to a space with no Enemy is lost.
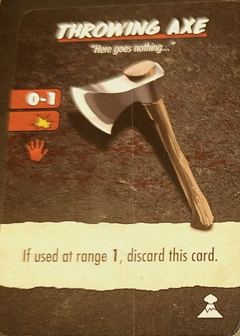
Weapon · range 0-1 · 1 ✴ · 1 hand. If used at range 1, discard it.
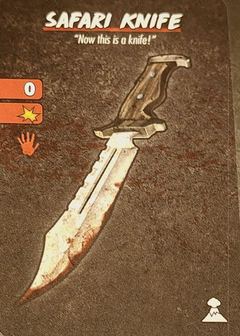
Weapon · range 0 · 1 ✴ · 1 hand.
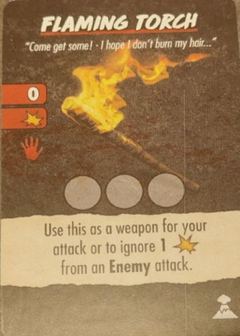
Weapon · range 0 · 1 ✴ · 1 hand · 3 uses. Use it to attack or to ignore 1 ✴ from an Enemy attack.
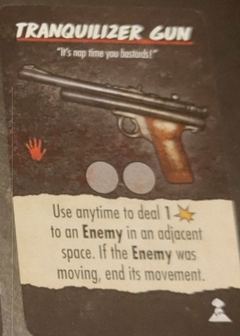
1 hand · 2 uses. Any time, deal 1 ✴ to an Enemy in an adjacent space; if it was moving, its movement ends.
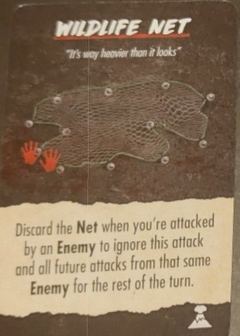
2 hands. Discard it when attacked by an Enemy to ignore that attack and every attack from that Enemy for the rest of the turn.
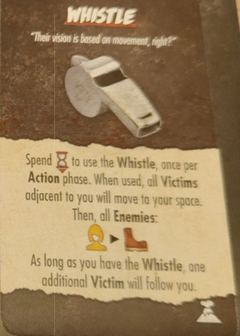
Once per Action phase, spend 1 ⌛: all adjacent Victims move to your space, then all Enemies target you and move. While you have it, one extra Victim follows you.
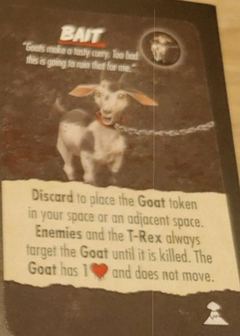
Discard to place the Goat in your space or an adjacent one. Enemies and the T-Rex always target the Goat until it's killed. It has 1 ❤️ and doesn't move.
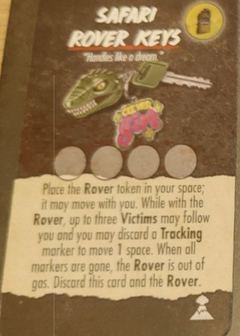
4 uses. Place the Rover token in your space; it moves with you. With the Rover, up to 3 Victims can follow you and you can spend a use to move 1 space. When the uses run out, it's out of gas: discard the card and the Rover.
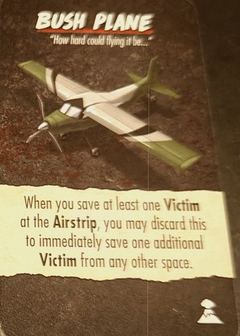
When you save at least one Victim at the Airstrip, you may discard it to immediately save one more Victim from any space.
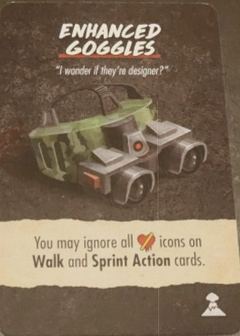
You may ignore all 💔 icons on Walk and Sprint Action cards.
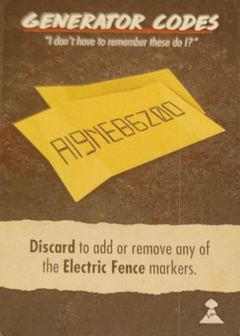
Discard to add or remove any of the electric fence markers.
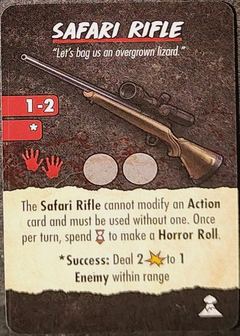
Weapon · range 1-2 · 2 hands · 2 uses. Can't modify an Action card and must be used without one. Once per turn, spend ⌛ to make a Horror Roll. On a success: 2 ✴ to 1 Enemy within range.
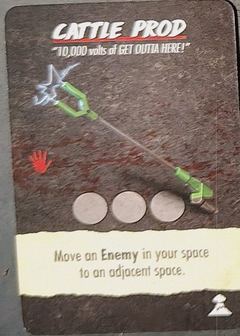
1 hand · 3 uses. Move an Enemy in your space to an adjacent space. You can use it several times in the same turn, until its 3 uses run out.
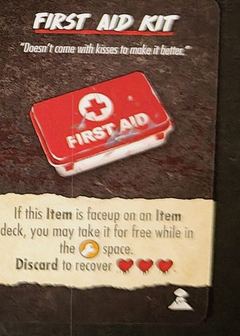
If it's faceup on an Item deck, you may take it for free while in its 🔧 space. Discard to recover ❤️❤️❤️.
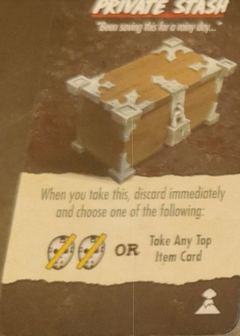
When you take it, discard it and choose: what its icons show, or the top card of any Item deck.
Isla Lagarto events
- Supply Drop
- Put the 3 Supply tokens on the Beach and Cliff spaces furthest from you (one each). On a space with a token you can spend 2 ⌛ to remove it and take a random Item set aside during setup. Discard when no tokens are left.
- Fierce Competitors
- For each Victim you save: ⌛.
- Terrified Child
- The Victim furthest from you is the Terrified Child. While other Victims remain, it won't follow you and can't be saved, targeted or killed. Saved: unlock your Ultimate Ability or reduce Horror to 0. Killed: 🩸 goes to the maximum.
- Game Makers
- If drawn during setup, discard and draw another. Otherwise resolve its three icons (volcano, a new Event and the orange claw) and discard it.
- The Alpha
- The Victim closest to you is the Alpha. If killed: 🩸. When anyone with or next to the Alpha would be attacked (not Enemies), the Alpha moves to their space and you roll: 1-2 the Alpha dies · 3-4 the attack goes on · 5-6 it's cancelled.
- The Power Is Down
- Remove all electric fence markers and resolve the orange claw once. Don't roll the fence die in the next Upkeep. Discard at the end of that Upkeep.
- Power Surge
- Place all electric fence markers. Don't roll its die in the next Upkeep. Discard at the end of that Upkeep.
- Tropical Storm
- In the next Action phase, roll one die fewer (minimum 1) on every Horror Roll. If you make no Horror Roll: 3 ⌛. Discard at the end of that phase.
- Herbal Remedies
- Take a killed Victim of your choice and place it in your space. Discard.
- The Hunter
- Place the Hunter in the space furthest from you. Each Upkeep, the Hunter panics and deals ✴ to everyone in his space.
Our own wording, based on the rulebook, the cards and the wiki. Spot a mistake? Let us know.
